This article covers how to create a new cPanel account in WHM.
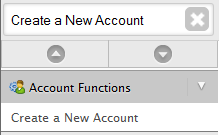
2) Type “Create a New Account” in the top left search box
3) Enter in new Domain Name, Username, Password, and contact email address

4) Select the Package for the account that you created earlier or select “Select Options Manually”
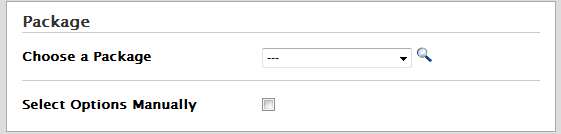
5) If “Select Options Manually” is checked, this will bring up the Manual Option box
6) Enter desired values for boxes.
7) Select “Save manual settings as a Package” to save the new created package
8) Under Setting select desired options; Dedicated IP, Shell Access, FrontPage Extensions, CGI Access, Digest Authentication for Web Disk, cPanel Theme, and Locale (Language)
9) Reseller Setting, click the checkbox is user is a reseller.
10) DNS setting, DKIM is checked by default. Select “Enable SPF on this account” for future use.

11) Leave “Use the nameservers at specified Domain Registrar” and “Overwrite any existing DNS zones for the account” unchecked unless you are using custom nameserver. These setting can be modified at a later date.
12) Mail Routing Setting can be modified after creation and the default setting “Local mail Exchanger” will work unless outside server will be used as Mail Handler

13) Click “Create”


")